|
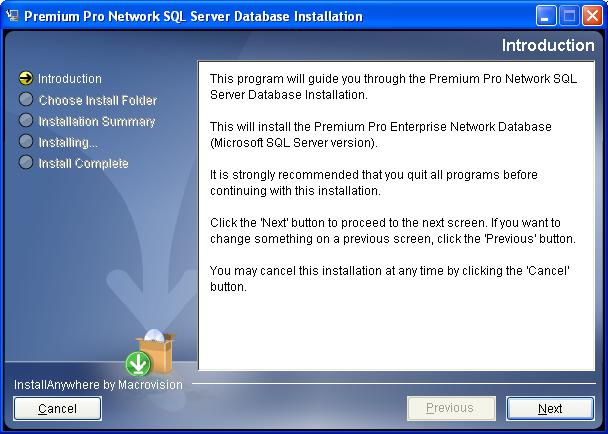
Network Installation – Enterprise SQL InstallationClick here to download: Premium Pro Enterprise Install – SQL Enterprise Installation. Once the file has been successfully downloaded, double click on the file to run it. The installation program will begin.
The installation wizard will start, click Next.
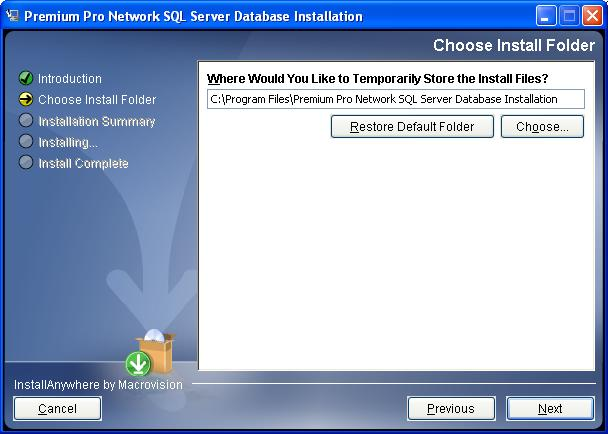
Select where you want to install the installation program. Click Next.
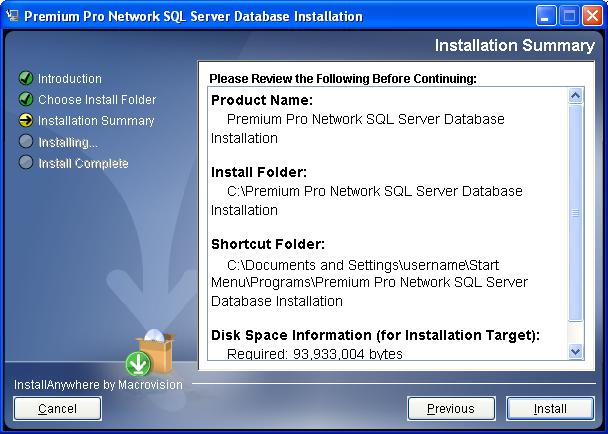
Review your settings and click Install.
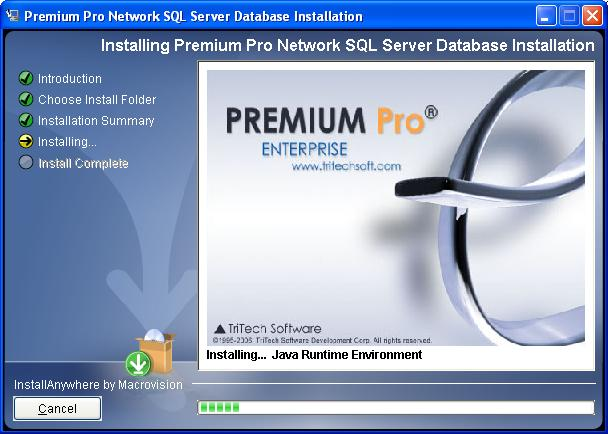
The installation program will be installed on your machine.
Once the installation program is installed, the installation wizard will start. This wizard will walk you through setting up the SQL Server. Click Next.
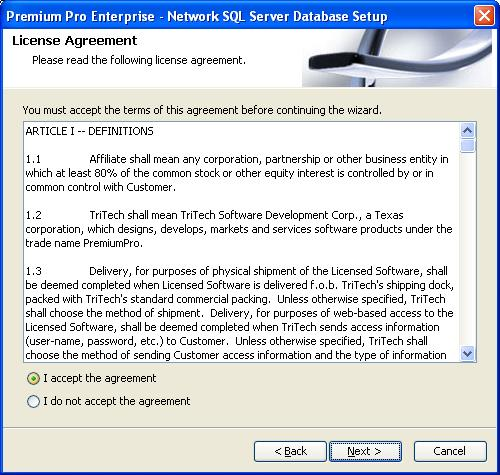
Review the license agreement. You must accept the license agreement before you can proceed.
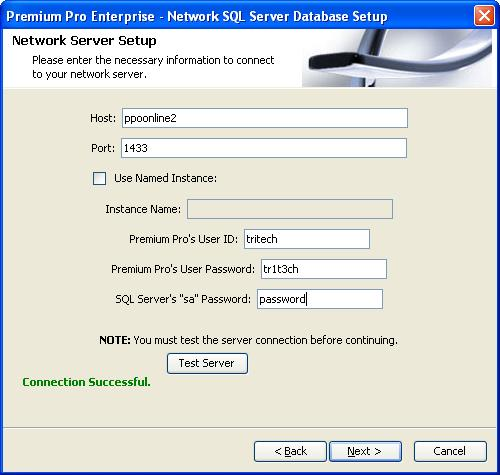
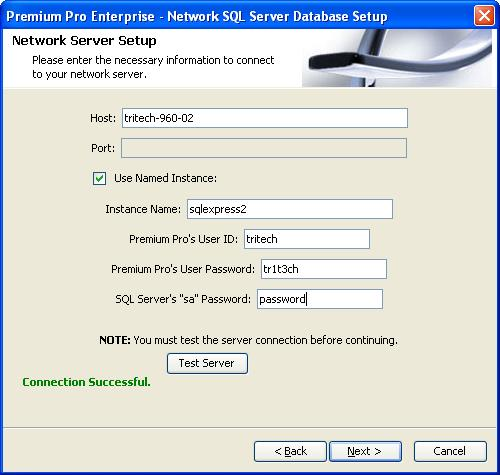
Enter the name of the server hosting the SQL Server. If you are using the full version of SQL server, enter the appropriate port number. The default port is 1433. Leave the “Use Named Instance” unchecked.
If you are using SQL Express or a Named Instance, check the option for “Use Named Instance”. The Port field will be disabled and you will then need to enter the Instance Name.
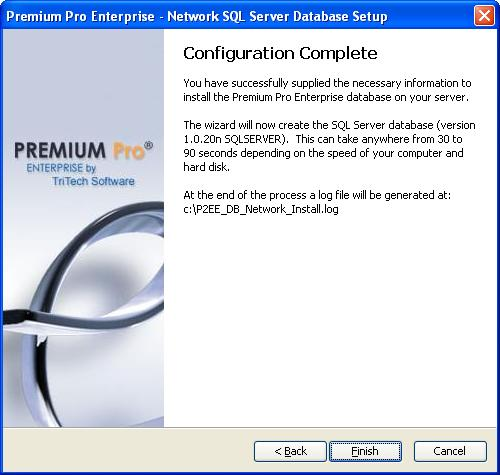
By default, Premium Pro Enterprise uses the SQL Server Login “tritech” to connect to the SQL Server. It is recommended that you leave this login as “tritech.” Enter a password for this SQL Server Login. Enter the ‘sa’ password for the SQL Server. This is strictly used for connection and permission purposes only. Click the Test Server button and make sure you receive “Connection Successful”. If you receive an error message, refer to the Error Messages section for possible causes and solutions. IMPORTANT: Please make note of the information provided here, as users will need this information (except for the ‘sa’ password) for the Initial Client Installation. When the Admin User starts Premium Pro Enterprise for the first time, they will be asked for this information to connect to the database. Click Next. Click Finish.
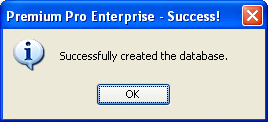
When finished, you should receive the following message.
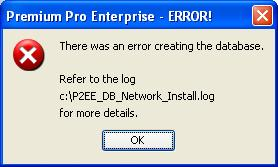
If there was an error you will receive a message like this. You can then review the error log and see what caused the error.
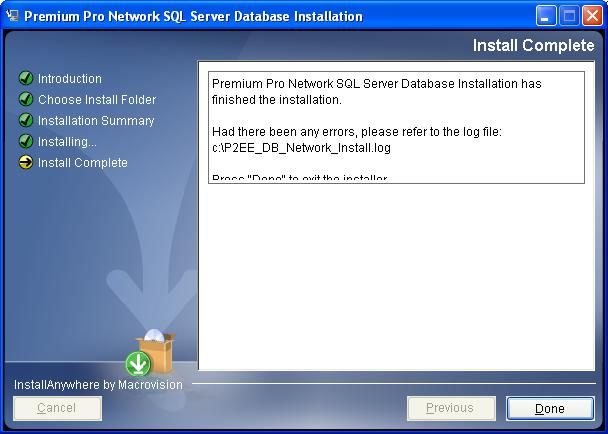
Click OK. You will return to the installation program. Click Done.
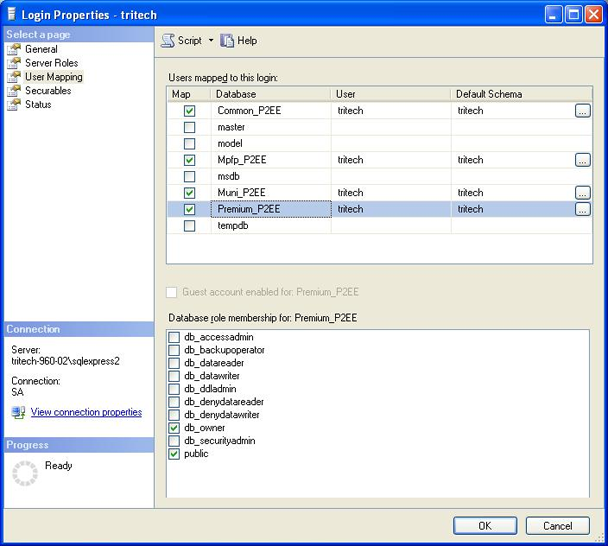
Verifying the Installation To verify the installation, go into SQL Server Management Studio. You should see four databases ending with “_P2EE”. Those are the databases used by Premium Pro Enterprise. Under Security / Logins, you should also see the “tritech” user. Right-click on the “tritech” login and select Properties. Under “User Mapping” you should see the “tritech” login as the db_owner of the four Premium Pro Enterprise databases. If you do not want the “tritech” login to be a db_owner, then they must be at least db_datareader and db_datawriter to the four databases.
You may now proceed to the Application Installation. Next>>
|